Walk into a coffee shop or open a coffee website and the vocabulary arrives all at once: single origin, washed, light roast, bloom, burr grinder. It can feel like everyone else got a handbook you missed.
Here is the good news. A genuinely tasty cup at home depends on a small number of things: fresh beans, a sensible grind, the right amount of coffee for the amount of water, and hot water. This guide walks through each one in plain language, then gives you two complete brewing recipes to start with. Every term you meet is explained as it comes up.
Part one: choosing coffee
Start with whole beans, and look for a roast date
Coffee starts to lose aroma soon after it is roasted, and it loses it faster once it is ground. Buying whole beans and grinding them right before you brew is one of the simplest ways to improve your coffee.
Look on the bag for a roast date, the day the coffee was roasted. Many specialty roasters print one. Coffee is often at its most enjoyable in the first several weeks after roasting, though there is no hard cutoff and taste is personal. A "best by" date alone tells you much less, because it does not say when the coffee was roasted. If a bag has no roast date, a local roaster or a shop that sells recently roasted coffee is a good place to ask.
Understand roast level
Roasting is what turns pale green seeds into the brown beans we know. The roast level describes how long and how far the beans were roasted, and it has a big effect on flavor.
- Light roast: Usually brighter and more fruity or floral, with more of the character of the plant and place the coffee came from. Brightness can come across as a pleasant, juicy tang.
- Medium roast: A balance of sweetness, body and some acidity. Often flavors like caramel, chocolate or nuts. A friendly place for many beginners to start.
- Dark roast: Bolder, heavier and more bittersweet, with roasty flavors that can resemble dark chocolate or toast. The roast itself is a larger part of the taste.
Roasters do not all use the same labels, so one company's "medium" may look different from another's. Treat the words as a rough guide, and read the flavor notes on the bag too.
Decode the words on the bag
A specialty coffee bag often carries a lot of information. These are the terms you are most likely to see:
- Origin: The country or region where the coffee was grown, such as Ethiopia, Colombia or Guatemala. Growing conditions shape flavor.
- Single origin vs. blend: A single origin comes from one place. A blend combines coffees, often to create a steady, balanced flavor.
- Processing: How the coffee seed was separated from the fruit it grows in. Washed coffees tend to taste clean and crisp. Natural coffees are dried inside the fruit and often taste fruitier and fuller.
- Variety: The type of coffee plant, such as Bourbon or Gesha. It is interesting, but you can ignore it at first.
- Tasting notes: Words like "blueberry, milk chocolate, orange peel." These describe flavors the roaster tasted in the cup. Nothing has been added to the coffee. They are an invitation to look for those flavors, not a promise that you will taste each one.
You will also see Arabica and Robusta, the two most widely grown coffee species. Specialty coffee is mostly Arabica. Robusta is common in some blends and instant coffee and tends to taste stronger and more bitter, with more caffeine.
A simple way to pick your first bags
You do not need to find the perfect coffee. Pick one that sounds appealing and treat it as an experiment.
- If you like chocolate, nuts and caramel, try a medium roast with those words in its notes.
- If you like fruit or tea, try a lighter roast with notes like berry, citrus or floral.
- If you like bold, roasty and smoky flavors, try a medium-dark or dark roast.
- Buy a smaller bag so you finish it while it is fresh, and try a different one next time.
Jot down what you bought and what you thought. Even a line like "sweet, a bit sour, would try a darker roast" teaches you what to look for next.
Part two: the gear you actually need
You can brew excellent coffee with a modest setup. Here is what matters, in order of how much it helps:
- A grinder, ideally a burr grinder. A burr grinder crushes beans between two rough surfaces, which produces a more even grind. Blade grinders chop unevenly, so some pieces over-brew while others under-brew. If you cannot buy a grinder yet, a roaster or shop can grind a small amount for you, though it will go stale faster.
- A kitchen scale. Measuring coffee and water by weight in grams is more consistent than scoops, because scoops hold different amounts depending on the bean and grind.
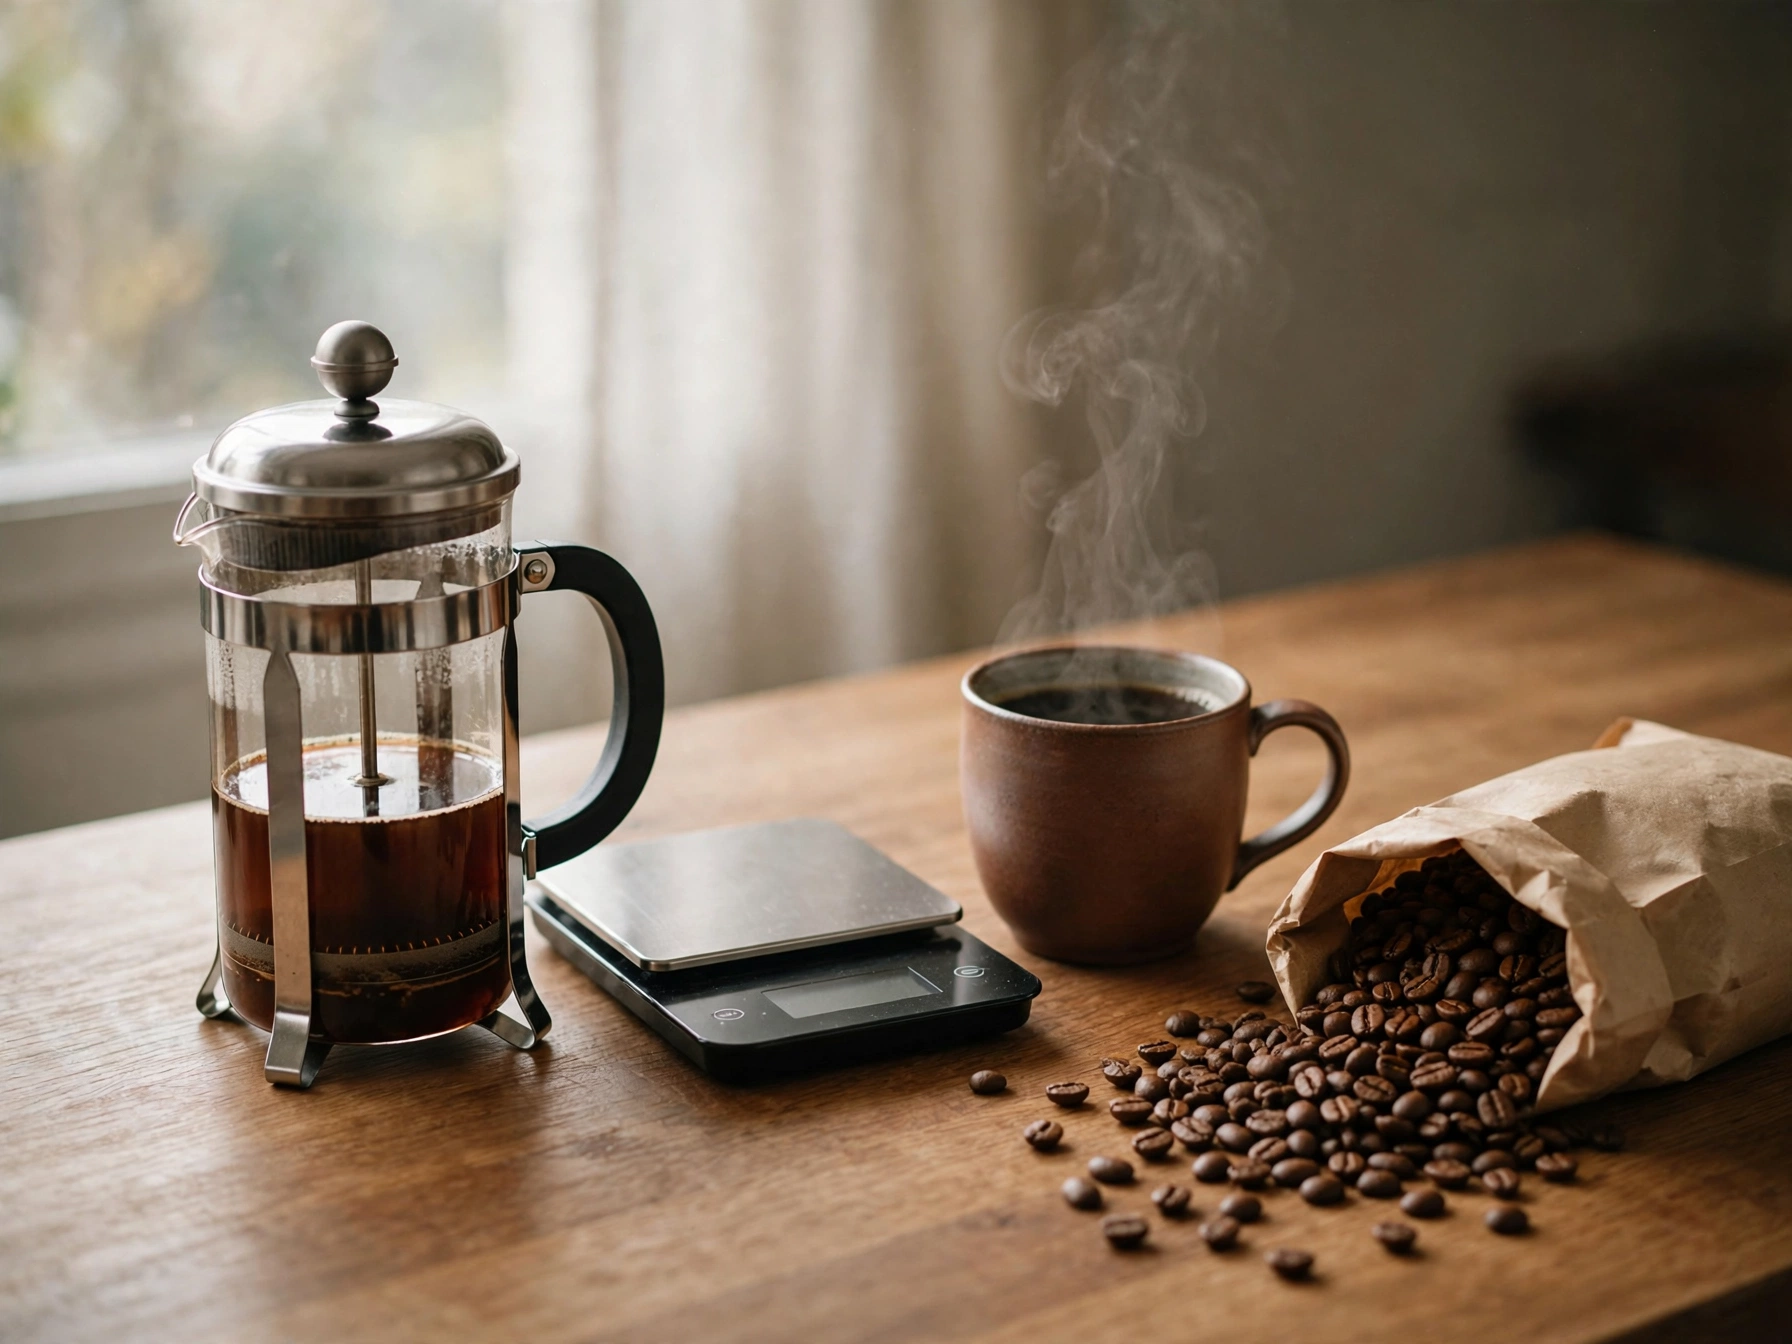
- A brewer. A French press and a pour-over cone with paper filters are both friendly choices, and both are covered below.
- A kettle. Any kettle works. A gooseneck kettle has a narrow spout that makes pouring easier to control, but it is a nice extra, not a requirement.
- Good-tasting water. Coffee is mostly water. If your tap water tastes good to drink, it is usually fine for brewing. If it tastes strongly of chlorine or minerals, filtered water can help.
Part three: the four things that shape every cup
Brewing coffee is extraction: hot water dissolves flavor out of ground coffee. Pull out too little and the cup tastes sour and thin. Pull out too much and it tastes bitter and dry. A good cup is in between. Four things control it.
- Ratio: How much coffee to how much water. A common starting point is about 1 gram of coffee for every 16 grams of water (written 1:16). Use more coffee for a stronger cup and less for a lighter one.
- Grind size: Finer grounds extract faster, and coarser grounds extract slower. Each brewing method works best at a different grind size.
- Water temperature: Water just off the boil, roughly 195 to 205°F (90 to 96°C), is the usual target. If you do not have a thermometer, bring the kettle to a boil and let it sit for 30 to 60 seconds.
- Time: How long water stays in contact with the coffee. Longer contact extracts more.
Part four: two beginner recipes
Both recipes use the 1:16 ratio as a starting point. They are not the only correct way to brew. Treat them as a reliable first draft that you can adjust to your taste.
Recipe one: French press
The French press is forgiving, needs no paper filters and makes a full-bodied cup. The coffee steeps in the water, then a metal mesh plunger separates the grounds.
You will need: 30 g whole coffee, 500 g hot water, a French press, a scale and a timer.
- Grind the coffee coarse, with pieces roughly the size of coarse sea salt.
- Warm the press with a splash of hot water, then pour it out.
- Add the ground coffee and set the press on the scale. Zero the scale.
- Start your timer and pour in 500 g of hot water, making sure all the grounds are wet.
- Stir gently once, then rest the lid on top without pressing.
- Wait about 4 minutes.
- Press the plunger down slowly and steadily.
- Pour all of the coffee into your mug or a server right away. Coffee left sitting on the grounds keeps extracting and turns bitter.
Recipe two: pour-over
Pour-over means pouring hot water over coffee in a paper filter, so gravity pulls it through. It makes a cleaner, brighter cup and teaches you a lot about how brewing works.
You will need: 20 g whole coffee, about 320 g hot water, a pour-over cone (such as a V60 or similar), a paper filter, a scale and a timer.
- Grind the coffee medium-fine, somewhere between coarse sea salt and fine sand.
- Place the filter in the cone and rinse it with hot water. This removes the papery taste and warms the brewer. Discard the rinse water.
- Add the ground coffee, level the bed gently and zero the scale.
- Start the timer. Pour about 40 g of water, just enough to wet all the grounds. This is the bloom. You will see the coffee puff up as it releases gas. Wait 30 to 45 seconds.
- Pour the rest of the water slowly in gentle circles, reaching 320 g total by around the 1:30 to 2:00 mark.
- Let it all drain through. The brew usually finishes around 3 to 3:30 minutes.
- Swirl the server or mug, then taste.
Your timing does not need to match exactly. If the water drains much faster or slower than this, change your grind (see the next section).
Part five: what to do when it tastes wrong
Almost every beginner cup that disappoints can be fixed with one small change. Change only one thing at a time so you can tell what helped.
- Sour, sharp, thin or salty: The coffee is probably under-extracted. Grind finer, brew a little longer or use slightly hotter water.
- Bitter, harsh, dry or ashy: The coffee is probably over-extracted. Grind coarser, shorten the brew time or let the water cool a little.
- Weak and watery: Use more coffee for the same amount of water, for example 22 g instead of 20 g in the pour-over.
- Too strong or heavy: Use a little less coffee, or add some hot water to your finished cup.
- Flat and dull: Check how old the coffee is, and try beans with a more recent roast date.
Keep in mind that some coffees are naturally bright and tangy, and some are naturally roasty and bitter-edged. A fruity light roast having some acidity is part of its character, and a dark roast tasting bittersweet is too. If you simply do not enjoy a style, that is useful information about what to buy next.
Storing your beans
Keep beans in an airtight container, away from light, heat and moisture. A cupboard works well. Many people keep coffee in its original bag with the air pressed out and the top folded or sealed. The fridge is not necessary and can expose beans to moisture and food odors.
A simple plan for your first month
- Week one: Buy one bag of fresh medium roast. Brew it with the French press recipe every day and get comfortable with the routine.
- Week two: Change one thing, such as a slightly finer grind, and notice how the taste changes.
- Week three: Try the pour-over recipe with the same coffee and compare the two methods.
- Week four: Buy a different coffee, perhaps a lighter or darker roast, and see which you prefer.
By the end you will have tasted the same coffee two ways, and different coffees side by side. That is how a preference becomes a palate.
Where to go next
When you are ready to dig deeper, these Coffee Chronicle articles build on what you have learned here:
- Reading the Roast: Light, Medium and Dark, and What Happens Inside the Drum
- How to Taste Coffee: Acidity, Sweetness, Body and the Flavor Wheel
- Extraction Explained: Ratio, Grind, Water and Time in Every Brew Method
- Washed, Natural, Honey and Beyond: What Processing Does to Coffee
Everyone who loves coffee started with a first cup they were not sure about. Brew, taste, adjust, and enjoy it.
